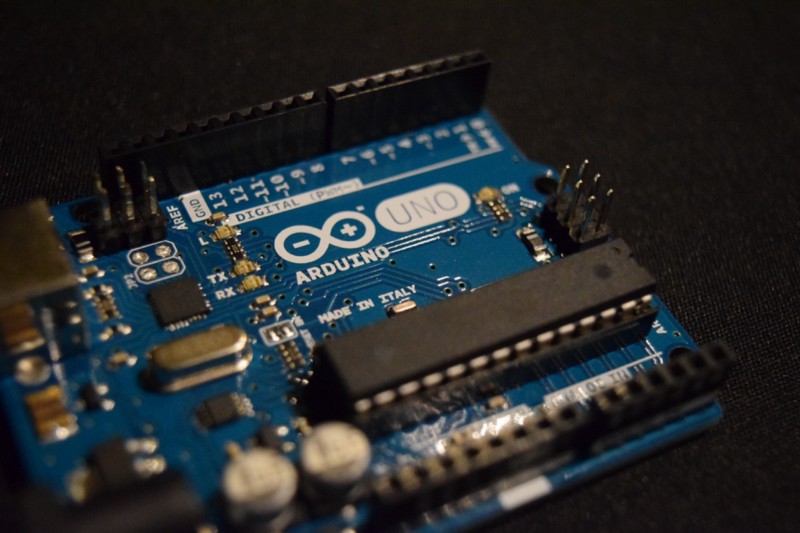
Note: This post assumes that the reader knows Arduino and C++ programming basics.
As part of a recent project, we connected a Raspberry Pi (I will be calling it just “Pi” for the rest of this post), running Windows 10 IoT Core, with a couple of Arduino boards having some sensors connected to them. For the connectivity between Pi and Arduino, we opted for the Windows Remote Arduino approach in which Arduino can be controlled through Pi using the Firmata protocol. Installing Windows 10 IoT Core on Pi and Firmata sketch on the Arduino are well explained on many other articles on the web, so let’s directly jump into the main topic of this post.
The Problem Statement Link to heading
There can be only one sketch running on an Arduino, at a time. This post is about how to integrate multiple Arduino libraries with Standard Firmata, to create a single sketch, so that data from multiple sensors can be read and passed to the Pi.
When we connect sensors to an Arduino board, we can read their values programmatically, by writing sketches. A sketch is simply a program in Arduino terms. By design, every Arduino sketch has Setup and Loop functions. Consider a situation when we need to read data from multiple sensors having their own libraries/sketches. For example: To read data through the temperature and humidity sensor we need the DHT library; for the infrared emitter and receiver we need the IRemote library and so on. In our scenario, the Arduino is already running the Standard Firmata sketch to connect with the Raspberry Pi. In such a situation we need to integrate these sketches into one sketch, which means, utilizing the same setup and loop methods to read data from multiple sensors and then transferring this data to the Pi.
The Solution Link to heading
For our project, we used DHT11 and IRemote Arduino libraries for recording temperature and infrared sensors and integrated these libraries with the Standard Firmata sketch.
Here’s how to do it,
- Open Standard Firmata sketch in the Arduino IDE. It’s available in the example sketches in the file menu.
- Add the include statements for DHT and IRremote. (I’m assuming, you know where to add these :)) Also, you need to keep the corresponding library (code and header) files in the same directory for the sketch to compile.
#include IRremote.h
#include <dht11.h>
Now we need to read data from the connected sensors and send this data to the Pi.
- Add global variables for IRSend and DHT so that we could use them in the rest of the sketch.
IRsend irsend;
dht11 DHT11;
- Add logic for IR and DHT. For example, we added a simple logic for detecting a beam break between a IR sender and receiver. Note: This needs to be added before the
Setupmethod.
// Most of this code is taken from Stéphane Deniaud's comment at
// http://www.righto.com/2010/03/detecting-ir-beam-break-with-arduino-ir.html

void switchOffOnIREmitter() {
  IREmitterOff();
  IREmitterOn();
}

void checkIRBeamBreak() {
if (digitalRead(PIN\_DETECT) == LOW)
{
  return;
}

detachInterrupt(digitalPinToInterrupt(PIN\_DETECT));
switchOffOnIREmitter();

if(digitalRead(PIN\_DETECT) == irvalue)
{
  attachInterrupt(digitalPinToInterrupt(PIN\_DETECT),   checkIRBeamBreak, RISING);
  return;
}

if (digitalRead(PIN\_DETECT) == HIGH)
{
  String beamBreak = “Break”;
  irvalue = HIGH;
  Firmata.sendString(beamBreak.c\_str());
}
else
{
  String beamConnect = “Connect”;
  irvalue = LOW;
  Firmata.sendString(beamConnect.c\_str());
}

attachInterrupt(digitalPinToInterrupt(PIN\_DETECT), checkIRBeamBreak, RISING);
}

// Setup method is after this
Note: We used interrupts for checking changes in LOW/HIGH and RISING/FALLING values of infrared sensor to detect beam breaks. As soon as we got an interrupt, we sent the signal to the Pi using Firmata.sendString() method.
- Inside the
Setupmethod, below the existing code, add the initialisation code for the beam break logic.
void setup()
{

// Firmata code

// This is our code
attachInterrupt(digitalPinToInterrupt(PIN\_DETECT), checkIRBeamBreak, RISING);

irsend.enableIROut(38);

IREmitterOn();

}
Similarly, we can add any other sensor initialisation code in the Setup method of Standard Firmata.
- Now, coming to the loop method, where we would read the DHT data and send it to the Pi using the same
Firmata.sendString()method.
The loop method continuously calls the logic inside it at a pre-defined interval. Here, we are reading and sending the DHT values using the loop logic.
void loop()
{
 // Firmata code

 **DHT11.read(2);** // parameter is the analog pin number of DHT sensor
 **Firmata.sendString(DHT11.temperature.c\_str());**
}
Concept review: Read the sensor values in the Loop method (if you need them repeatedly) and use the Setup method to initialize code. Then use the Firmata.sendString() method to send the data to Pi.
Important Observation: When we tried to integrate more sensors the size of overall Arduino sketch increased and we got compile errors, or when we sent large strings through the Firmata.sendString() function there were garbage values received at the Pi. This indicates that the size of the sketch and size of the string being sent both are very important and should be kept in mind, because of the limited memory available on the Arduino boards.
Show me the code: The integrated sketch is available as the following GitHub gist, here.
Client Side Link to heading
On the Pi side, we created an UWP App in which we used the Windows Remote Arduino nuget package. Then we handled the event when the Arduino sent data to Pi. The whole process is described at the remote wiring official Github repository.